Claude Desktop MCP Connection Setup
This guide walks through connecting Claude Desktop to the AgileWatch system via MCP.
1. Log in to AgileWatch
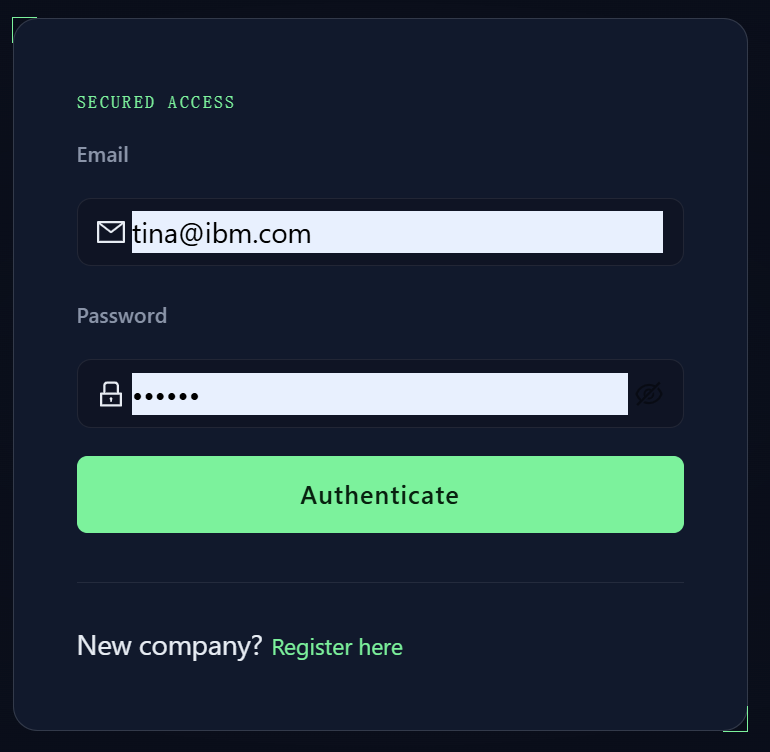
Open https://agilewatch.com/app and sign in with your account.
2. Generate an Auth Token
Once logged in, navigate to your User Profile. If this is your first login, click the Generate New Token button to create an authentication token.
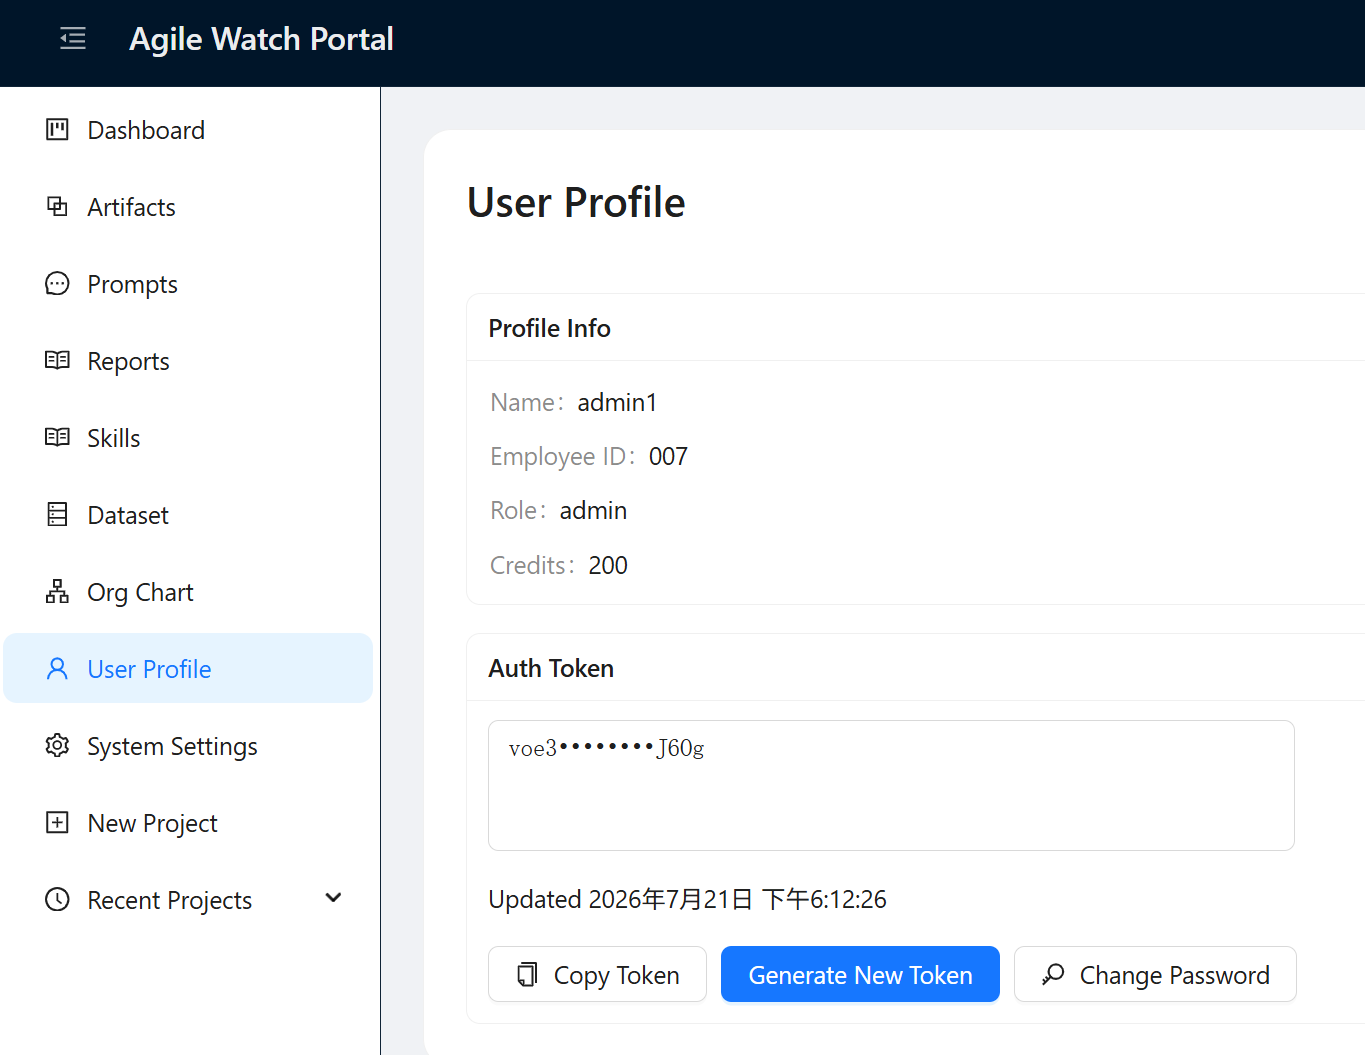
Click Copy Token — you'll need it for the MCP configuration below.
3. Configure Claude Desktop MCP
Open your Claude Desktop configuration file:
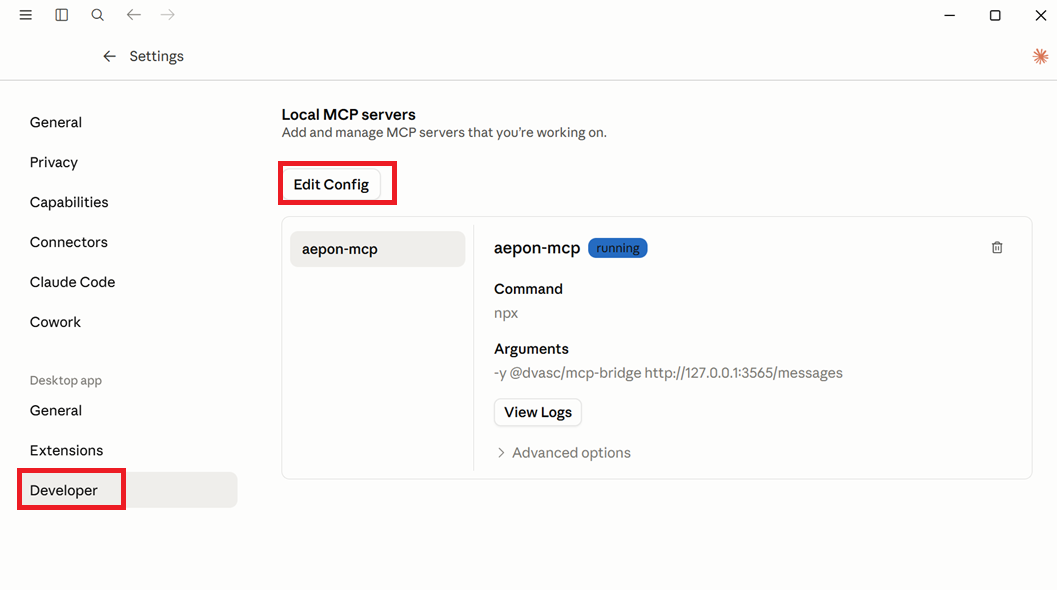
Add the following MCP server entries to the mcpServers object. Replace Pasted Auth Token with the token you copied in Step 2:
{
  "mcpServers": {
    "ftth-mcp": {
      "command": "npx",
      "args": [
        "-y",
        "@dvasc/mcp-bridge",
        "http://168.231.73.102:3565/messages"
      ],
      "env": {
        "API_KEY": "Pasted Auth Token"
      }
    },
    "aw-mcp": {
      "command": "npx",
      "args": [
        "-y",
        "@dvasc/mcp-bridge",
        "http://168.231.73.102:3547/messages"
      ],
      "env": {
        "API_KEY": "Pasted Auth Token"
      }
    }
  }
}
- If you already have other MCP servers configured, merge the new entries into your existing
mcpServersobject — don't replace the whole file. - Make sure
npxis available in your system PATH.
4. Restart Claude
After editing claude_desktop_config.json, you need to fully quit and restart Claude Desktop (not just open a new chat) for the changes to take effect.
5. Verify Connection
After restarting, the AgileWatch tools should appear in your available tool list. You can verify by asking Claude:
"List tools in ftth-mcp or aw-mcp"
If you see your tools returned, the connection is working correctly.